

Once confined to the kitchens of modernist restaurants, sous vide circulators have lately become increasingly popular among regular home cooks. Small, powerful circulators like the ChefSteps Joule make water-bath cooking accessible and easy.
In particular, cooking a steak sous vide is an easy, sure-fire way to get your steak cooked to just the right temperature. But knowing when your sous vide is done can be confusing: you don’t want to pull it out early, and you also don’t want to wait around three hours while your steak takes a long bath! If you want to prepare it as soon as it reaches the perfect temperature, you need something to monitor the internal temperature of your steak. And as with any good steak, you want a browned, savory crust that you just can’t get by cooking sous vide alone. So how can you get a steak that you know is done to the degree of sous vide perfection and has a browned, meaty crust all at the same time?
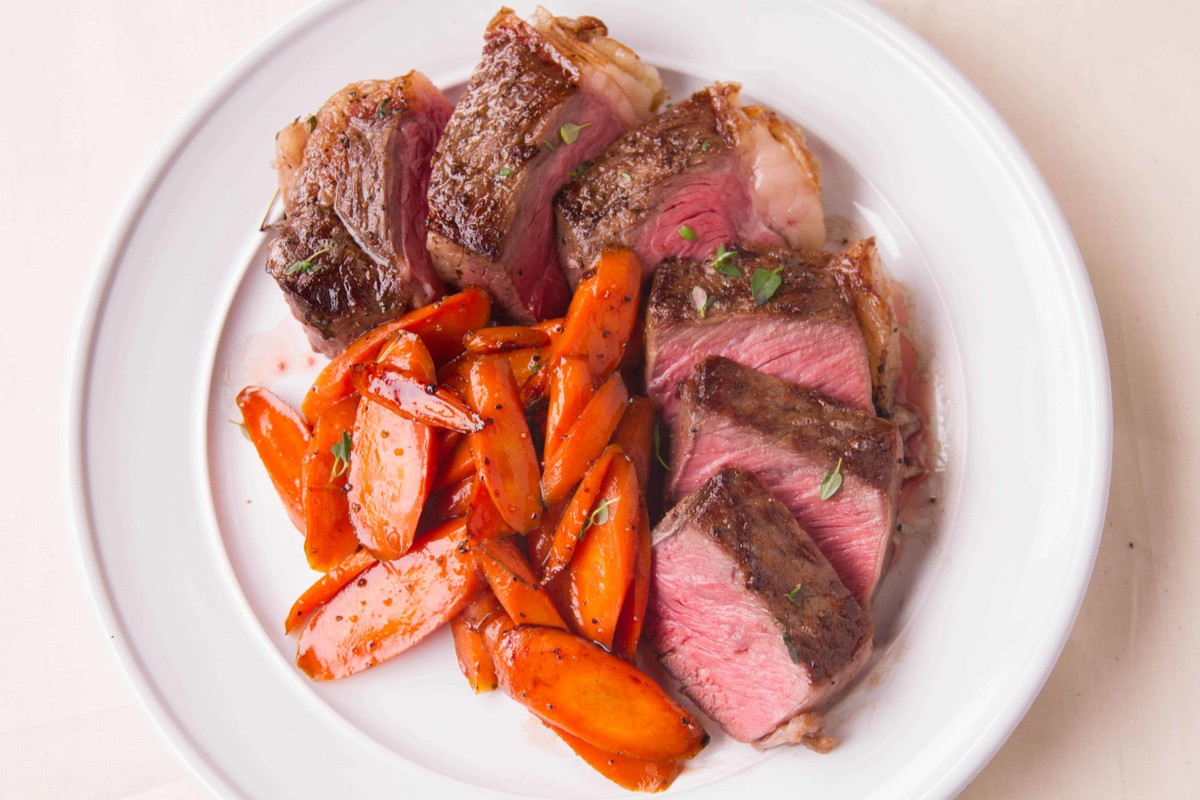
Easy! Use a thermometer and do a chill-based reverse sear. Read on for an explanation of the how’s and why’s of this method, along with a recipe for a simple side of honey glazed carrots.
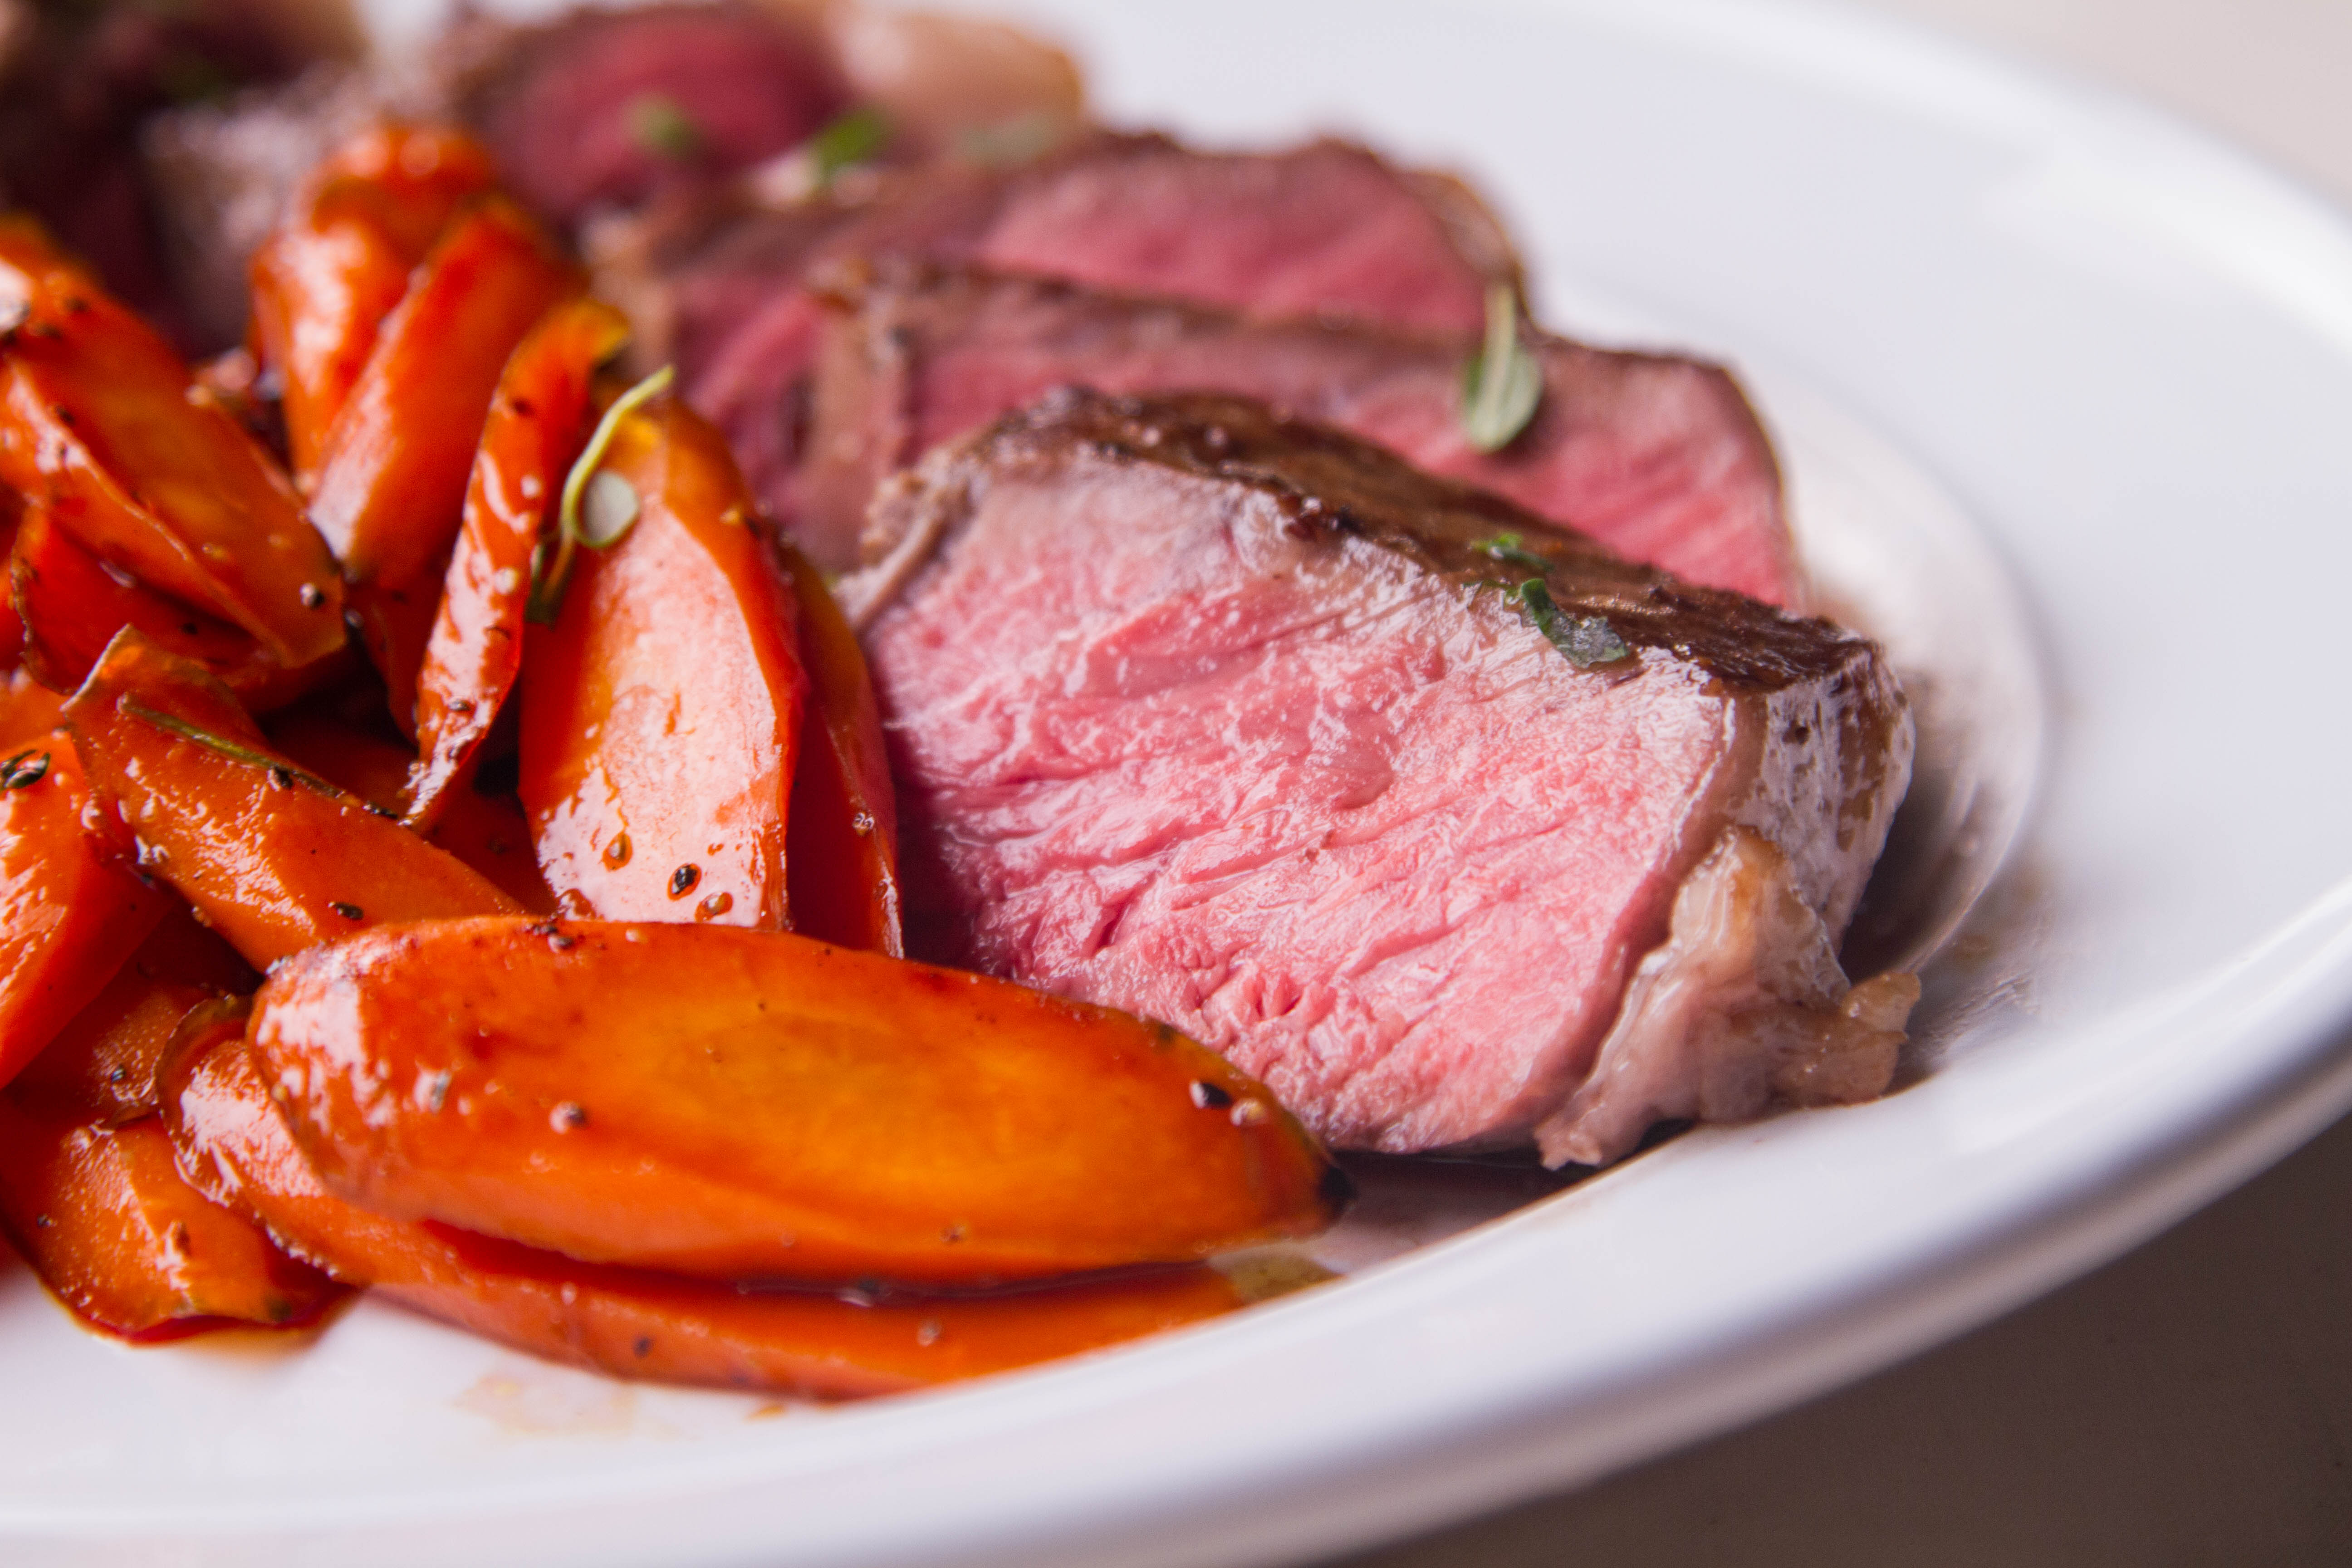
Do I need a thermometer for sous vide cooking?
I can hear the skeptics now: “sous vide is temperature controlled! My Joule/other sous vide cooker keeps track of the temp for me!” And they are right, the circulator does keep the temperature of the water in the right place—but the cooker does not measure the internal temperature of the meat to tell if it has reached its thermal destination. By using a leave-in probe, like the DOT®, you can know the moment when your steak reaches medium-rare perfection—or medium or what ever doneness you prefer.
What about vacuum sealing?
To be technically accurate, sous vide means “under vacuum,” and the characteristic means of cooking sous vide is to vacuum seal your food before sending it swimming. But here’s the thing: that’s not, strictly speaking, necessary.
We have found that a zip-closure freezer bag works just as well for home applications as vacuum sealing. The purpose of vacuum sealing is to increase the contact, and therefore the conduction, between your food and the water. To achieve the same kind of contact, put your food in a zipper bag and submerge it partially in the water. The water presses all the air up and out of the bag. Then you can simply clip the bag to the side of your water bath, to prevent it from swirling around and taking on water. When you do this, you may need to press out a few bubbles from the bag, but the results are excellent.
Note that there is a slight but real danger to vacuum sealing, as well: botulism. That’s right, the spores and bacteria of Clostridium botulinum do best in anaerobic—or oxygen-free— environments. Vacuum sealing food and then heating it in a bath of 135°F (57°C) water will eventually destroy bacteria like Salmonella, but C. botulinum doesn’t start to go inactive until 176°F (80°C). In fact, the spores of that particular type of bacteria are not destroyed by normal pasteurization. They are actually activated by it. And
when the hot food begins to cool and gets below 130°F/54°C, spores can germinate and grow out. Cooling from 135°F/57°C to 41°F/5°C in 6 hours (FDA Food Code cooling) assures that there is no spore germination. –Immersed: the Definitive Guide to Sous Vide Cooking, by Phillip Preston, pg 118
So without sounding a false alarm, let’s say that not sealing your food in a vacuum sealed bag before cooking can be a pretty good idea, unless you are going to be very careful about cooling time and temperatures, too.
Use a thermometer in either case
Whether you decide to vacuum seal your food or not, it is always best to use a thermometer. If you are vacuum sealing your food, you can use our Pro-Series® Waterproof Needle Probe, which can be fully submerged in the water bath without difficulty. You will also want to use some foam sealing tape, like our Sous Vide Foam Tape, on the site of the needle’s penetration to maintain the water-tight seal of your precious package.
If you choose to use the zipper bag method, as long as there isn’t a lot of liquid in the bag with your meat, you can just use the regular probe included with your DOT or any other Pro Series probe. Just place the probe in the thickest part of the meat, and run the cord up out the top of the bag. The water will seal the bag around the cord and the probe. You don’t even need to zip the top, as long as you clip the top to the edge of your vessel. The air will not go down into the bag to insulate your food, but will be kept out by water pressure.
What is a chill-based reverse sear?
Chill-based reverse sear is when the meat is taken from the sous vide bath and chilled—still in its cooking bag—in an ice bath. By shocking the meat in an ice bath, we cool the exterior and a thin gradient of the interior so that when we perform the sear, we don’t risk overcooking the precisely-temped steak. A grey ring on our steak is not what we are looking for, but is more likely if we take the steak from the hot water straight to the hot pan. The brief chilling interval gives us thermal space for the sear without endangering our sous vide doneness.
Proper setup for sous vide bath
Because of the nature of thermodynamics, if you want your steak to reach any given temp, let’s say 135°F (57°C), you shouldn’t set your cooker to that temperature. If you do, you will hover 1-2° below your target, possibly for hours. To get it to the desired temp, you need the water to be just slightly hotter. This is another reason a thermometer is a good idea in sous vide cooking! I wanted a 130°F (54°C) steak, so I set my Joule to 132°F (56°C), but I set my DOT to 130°F (54°C). This extra thermal reservoir in the water allows your food to make the jump to your target temp without waiting extra time.
0 comments